Essential Watercolor Techniques: Introduction
In this article, I will go through everything you need to know to understand and apply essential watercolor techniques. But firstly, let’s start with the brush that you’re holding.
Brushstrokes are the building block of every painting.
Every mark made by your brush adds to the overall picture.
Often, it’s not apparent until the very end that you’ve created a painting. I still surprise myself at how a few brush strokes layered together can create something that my mind identifies as a person, tree, a dog.
But how do you know which brush strokes to use and when? This is where techniques and processes come in. You need to know how to execute each technique confidently each time, where required.
To make matters more complicated, in watercolor, you also need to keep in mind the timing of each technique. Some techniques can only be carried out at a certain time (i.e. while the paper is wet, or when the brush is dry).
Every artist uses their own variety of techniques and brush strokes to create individual visual language and style.
In this article, I am going to talk about the most important techniques and help you understand how and when to use them.
Hint: there are only two main ones that you need to learn! All the rest are bonuses and not necessary in my opinion. But of course, the more ‘tools’ you have in your toolbox, the more choice of marks and details you can make. However, it’s more important as a beginner to master TWO crucial techniques before you start introducing more advanced ones.
Read more below to find out what these techniques are.

Essential Watercolor Techniques: Two Crucial Techniques (forget the rest for now!)
1) Wet-in-wet
When I started learning watercolor, I was always cautious about adding too much water to my brush or paper. It seemed that I would lose control or end up with a muddy mess when I introduced more water. I stayed clear of using larger amounts of water, and as a consequence, missed out on the beautiful, efficient results you can get from it.
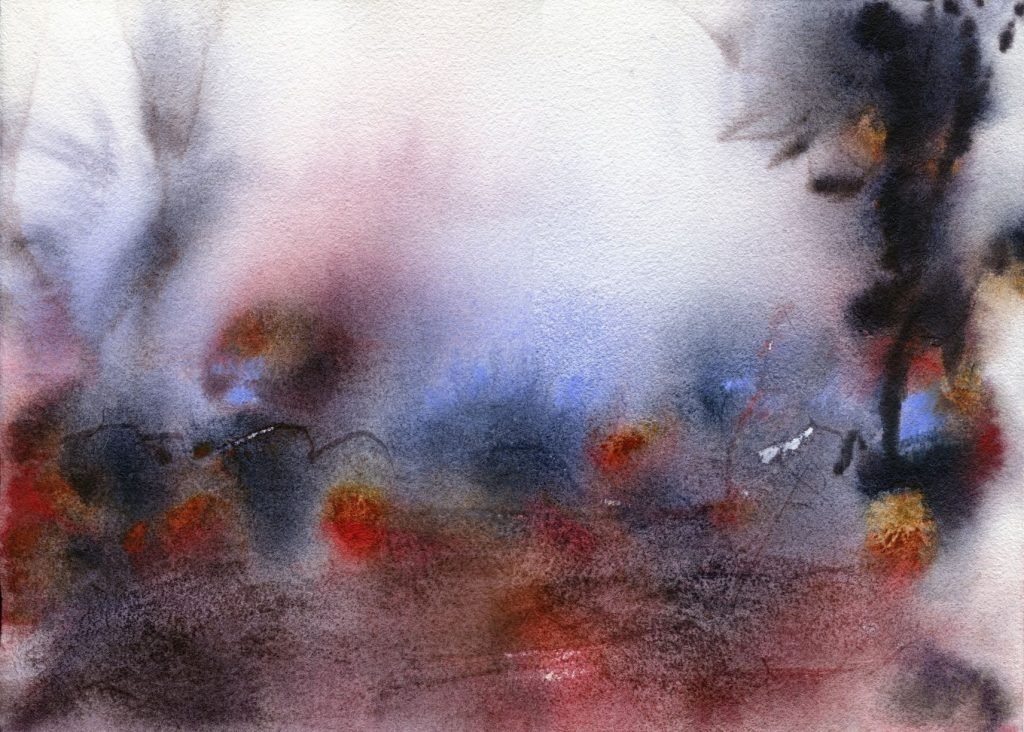
Wet-in-wet is the process of adding paint to an already wet area. This area can be an unpainted area with white paper + clean water, or it can be an area that has already been painted in a lighter wash.
So what are the benefits of painting wet-in-wet?
Watercolor is a magical medium. The way you can create interesting transitions and an infinite range of colors has always amazed me. This is where wet-in-wet shines. You can paint a variety of subjects including water, reflections grass and land, clouds, and even smaller details such as shirts and hair. Wet-in-wet creates soft transitions. Misty and atmospheric. Take a look at the example below.
1) Wet-in-wet: Continued
To carry out wet-in-wet techniques, you first have to begin with wet paper. You can wet the entire sheet of paper, or just a small area. If you wet only a small area, remember that the colour will only spread to the edge of the already wet area.
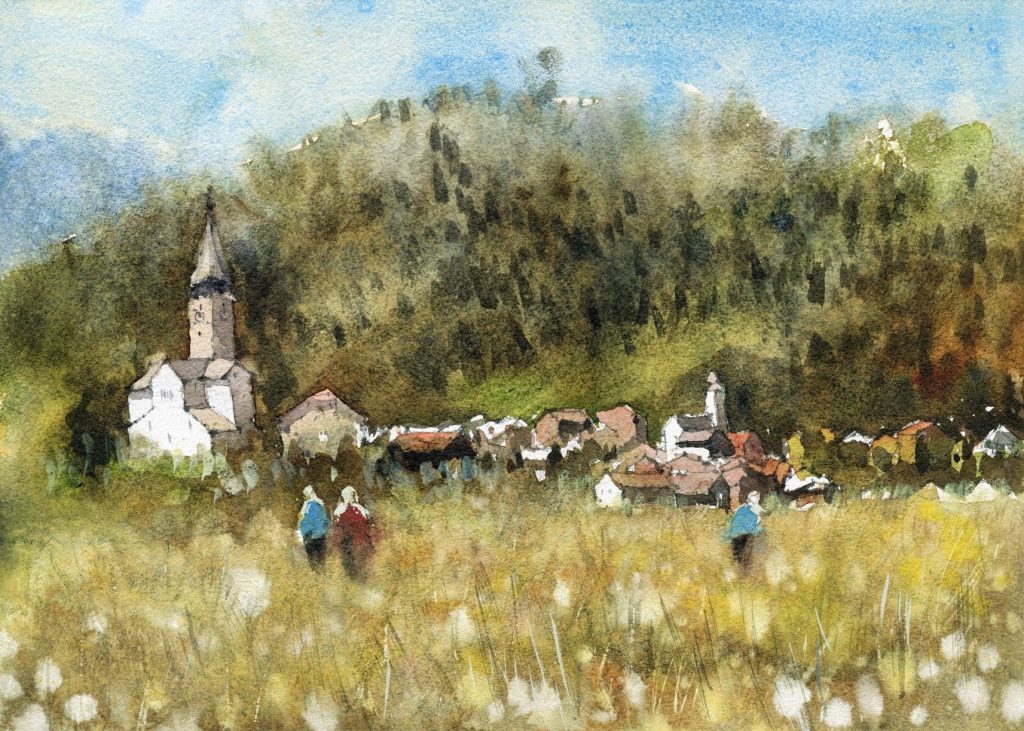
Whether you use clean water, or a light wash of color depends on what you’re painting. For example, if you want to create lots of fluffy white clouds, you may decide to apply clean water to the entire area of the sky first. You can then drop in blue paint, taking care to leave some white areas behind for the clouds.
Wet-in-wet: Continued
A common question I get is “how wet does the paper need to be”? Well, it really depends on what you’re painting, and how much you want the paint to spread. If the paper is completely drenched and you apply paint to it, you will find the paint will spread rapidly, randomly and with little control. This could be preferable if you’re painting clouds, but will be a disaster if you’re painting small, soft ripples on the surface of a lake!
Here’s a little trick, look at your sheet of paper from an angle until you can see the sheen of the water on your paper. The greater the sheen, the greater the spread of paint and less control you will have. If you wait until the paper has almost dried but is still damp, you will get some furry and softer edges but a better definition and less spread of paint. This can be good if you’re painting some distant trees or mountains that still require a sense of form/detail.
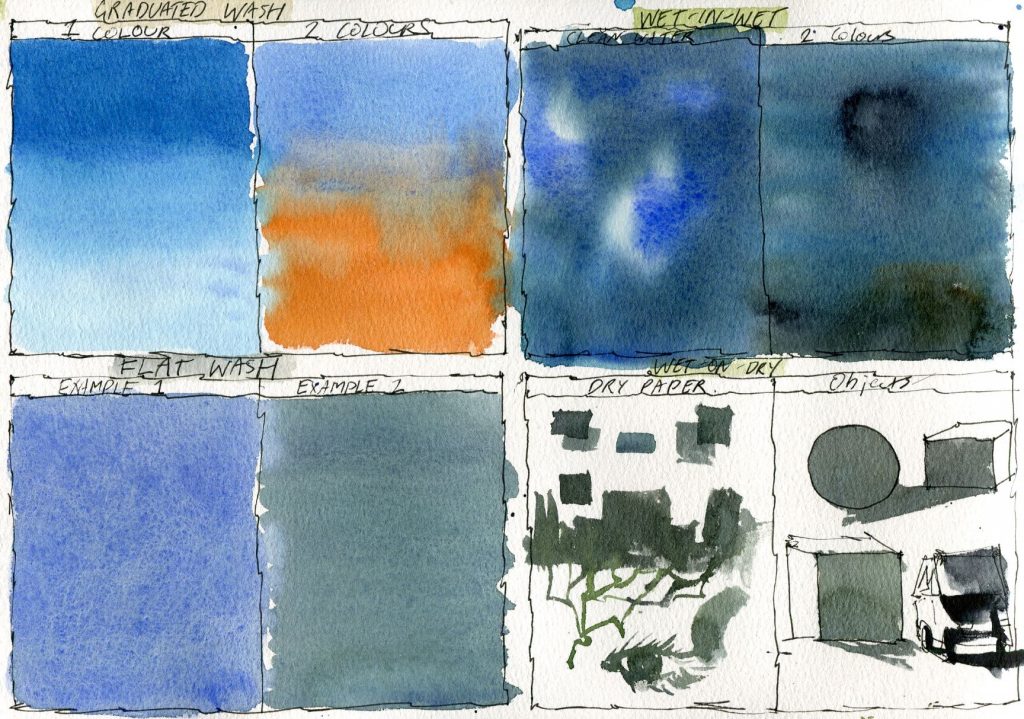
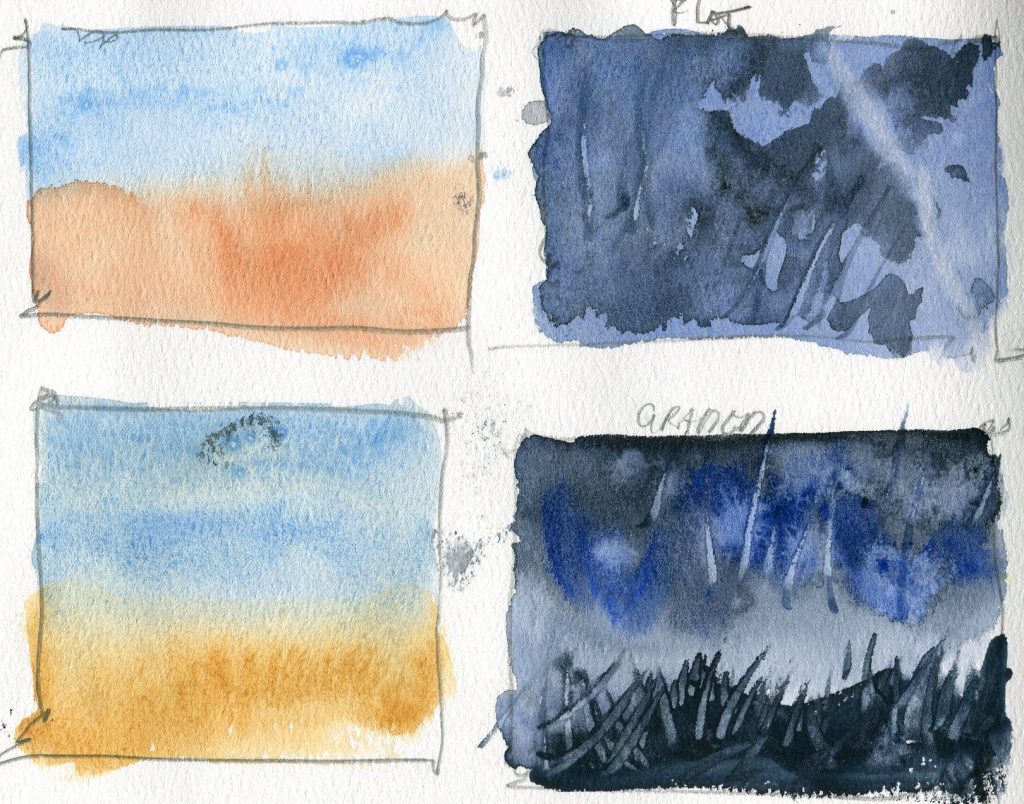
Exercise: Try drawing a few square frames on a sheet of paper and wet each square. Start by painting the first square immediately by adding some paint. Then wait for the others to dry, and add paint at different levels of wetness. You’ll learn a lot from doing this, and understanding how wet or dry the paper needs to be for you to achieve a certain effect.
2) Wet-in-dry
Thankfully, painting wet in dry is a lot easier to understand and apply. All you need to understand here is that you need to let the previous layer dry completely first, before adding another layer of paint on top.
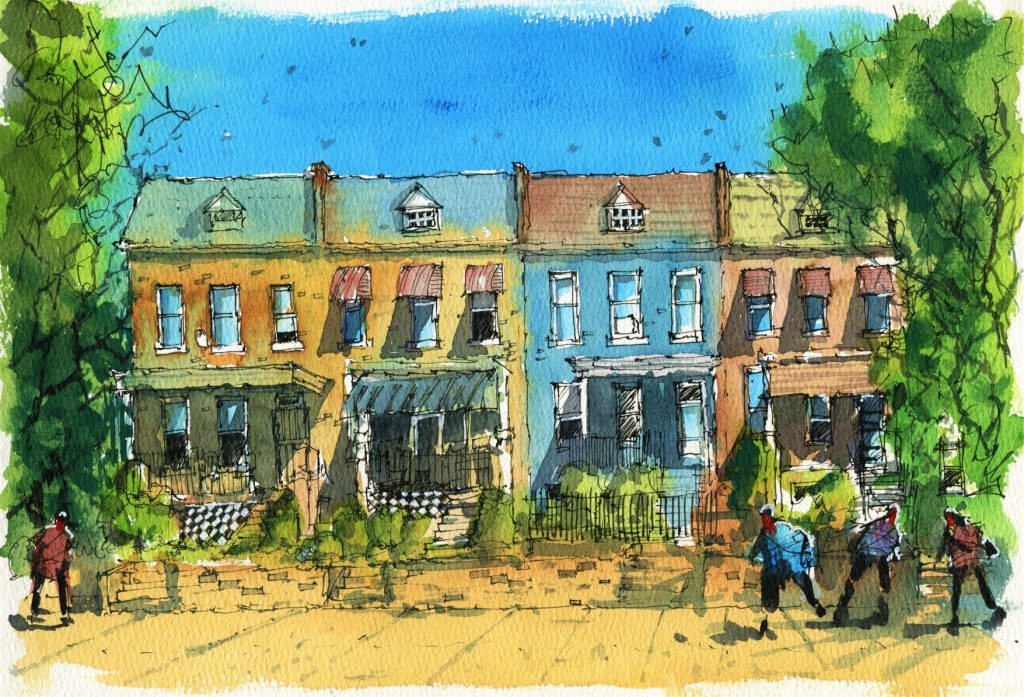
Doing this will create sharper edges, and allow you to darken areas to create shadows, and deeper values on objects to imply their form and dimensionality.
Painting wet-in-dry can be intimidating as well at times because you’ll find that as you add in the sharper areas of contrast and shadows, it can look out of place. The sheen and apparently darkness of the paint on paper can appear unsettling and I remember trying to correct it and dab away at it with a tissue. It wasn’t until I made a conscious effort to let the sharp areas dry without intervention, that I realised they looked amazing when contrasted with the softer areas of the painting.
Exercise: Take a look at the line and wash painting below. Try to see which areas I’ve painted wet-in-dry. Hint: try and find any sharp edges.
Essential Watercolor Techniques: Bonus Techniques & Processes
Although wet-in-wet and wet-in-dry are the main techniques you need to understand and apply, there are also a few other techniques that I think are important to mention as they raise your work up to another level.
Lifting
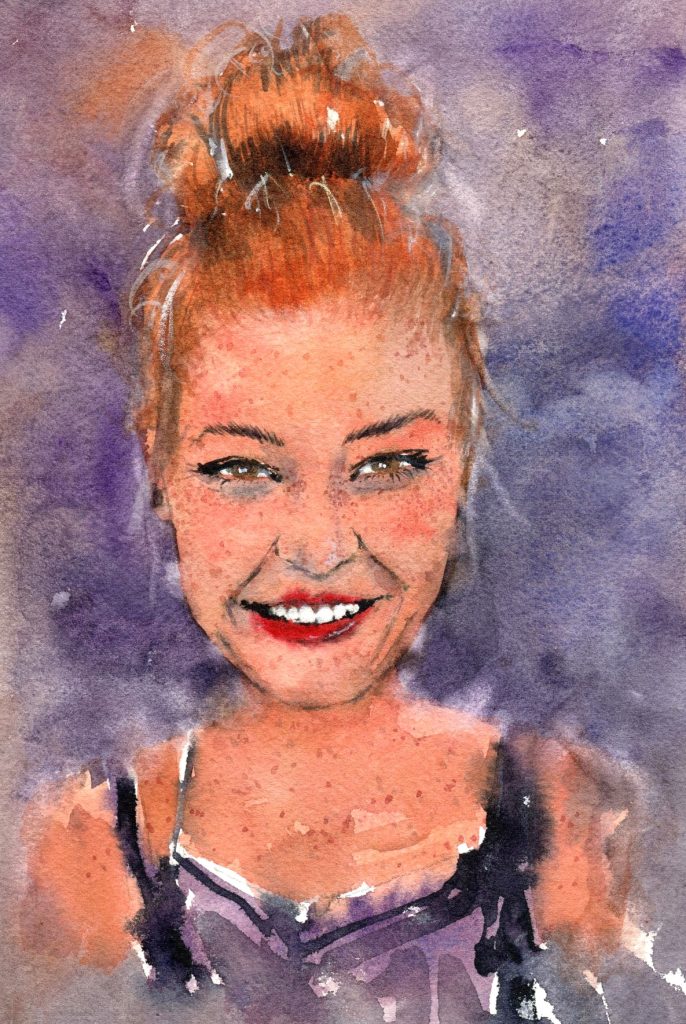
This is where you apply water with a clean brush to an already painted area, and lift off the paint in that area. You can lift it with a brush, or a paper towel/tissue. This creates a soft edge and helps blend areas together to create better flow. An example is the portrait sketch below. Notice how I blend the edges of the face and body into the background. It creates the appearance of the subject melting into the background. Here, I used a wet filbert brush to scrub out areas of white. This helps indicate strands of hair and also creates a sense of continuity between the subject and the background. I used a dry tissue to lift off the paint.
Blending
This comes in various forms, but I use it most when trying to mix two colours on paper. Graded washes are a good example (see the previous photos). You blend by making sure the point where the two colours interact appears smooth and mixing naturally. I often paint buildings a lighter yellow colour, then add in a splash of red or brown, perhaps purple to mix into areas to create interesting blends. You can also blend colours wet-in-wet. An example is painting darker clouds over a sky wash.

Scratching
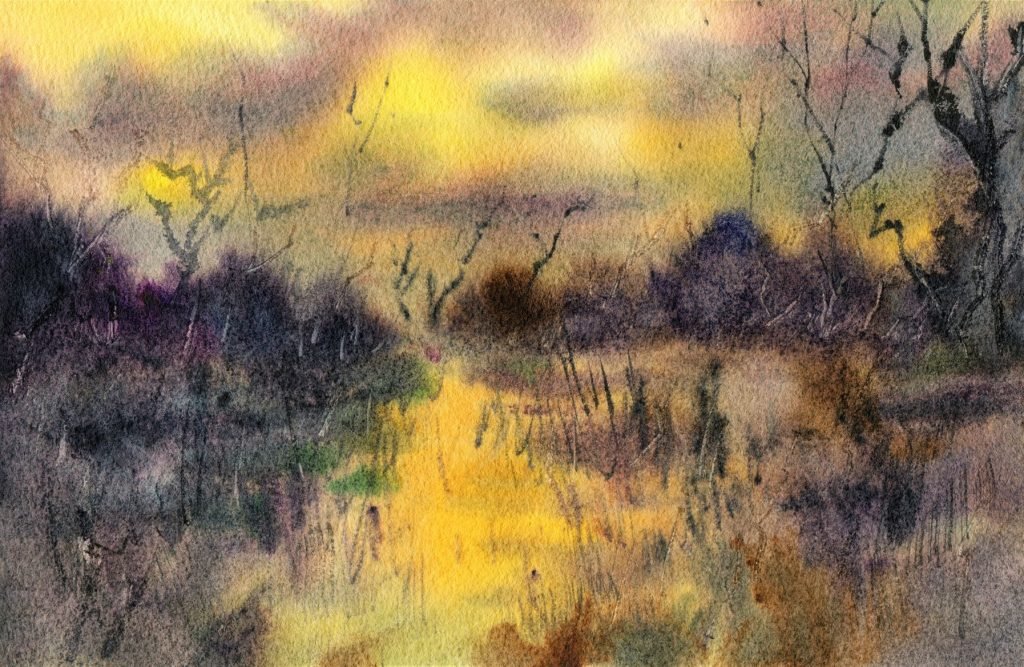
In the example below, I used a sharp blade/credit card to scratch out areas of paint. You can also use a blade to scratch deep into the paper’s surface to expose the white of the paper again. When scratching out areas of paint, you want to make sure that the area has almost completely dried. If you try scratching out too early, you’ll find that the paint will run back into the scratched out area again.
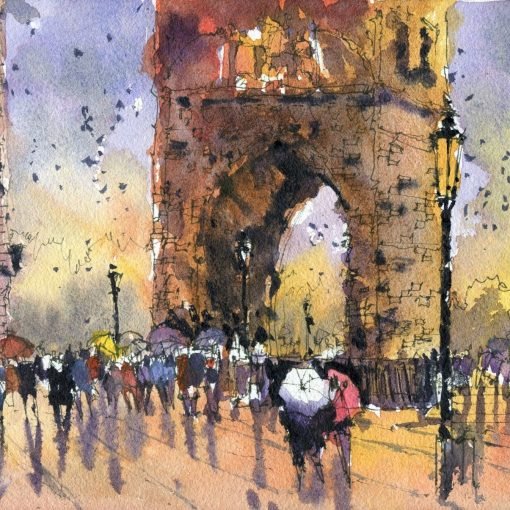
Splatter/Flicking
This technique is great for creating texture and for making a flat area look more interesting. You can use this technique in a few ways. If you have an old toothbrush, you can add some wet paint onto the bristles, pull the bristles back and release on the area where you want the paint to ‘spray’. Make sure you cover areas that you don’t want to be affected.
You can also use a normal paintbrush, pull the bristles back in the same manner and release. Or you can ‘tap’ the brush over another brush that will cause paint to flick off onto the page.
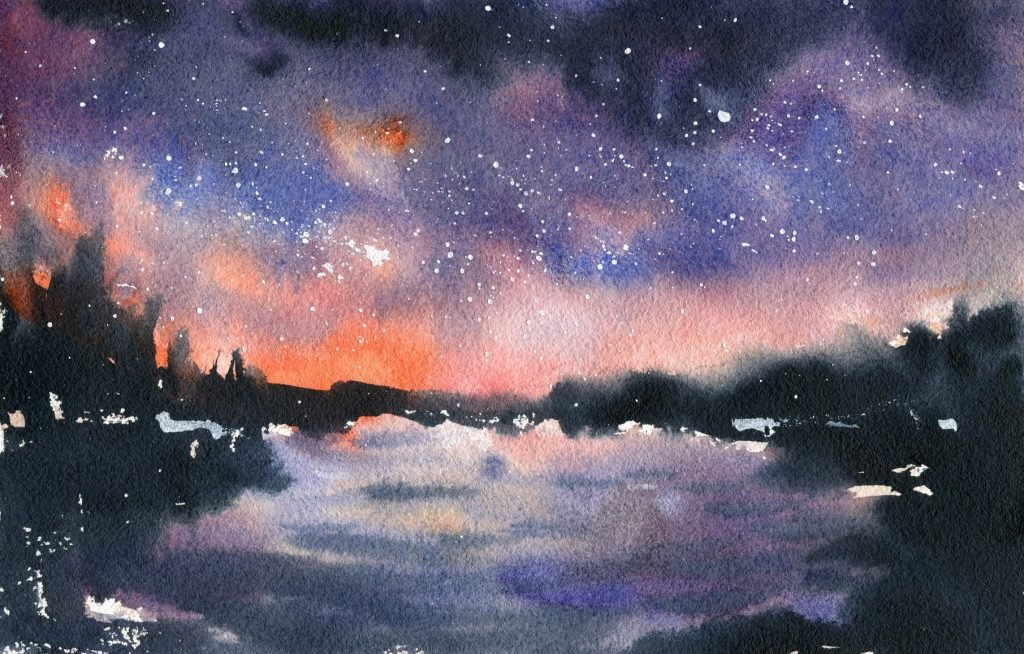
You can use this technique on wet or dry paper. You can see below in my beach scene, the effect of this technique in both circumstances.
This effect is also good with white gouache to create a starry night effect.

Dry-brush
Dry-brush is an excellent finishing technique. I use it to indicate small details like windows, grass, textures, and highlights.
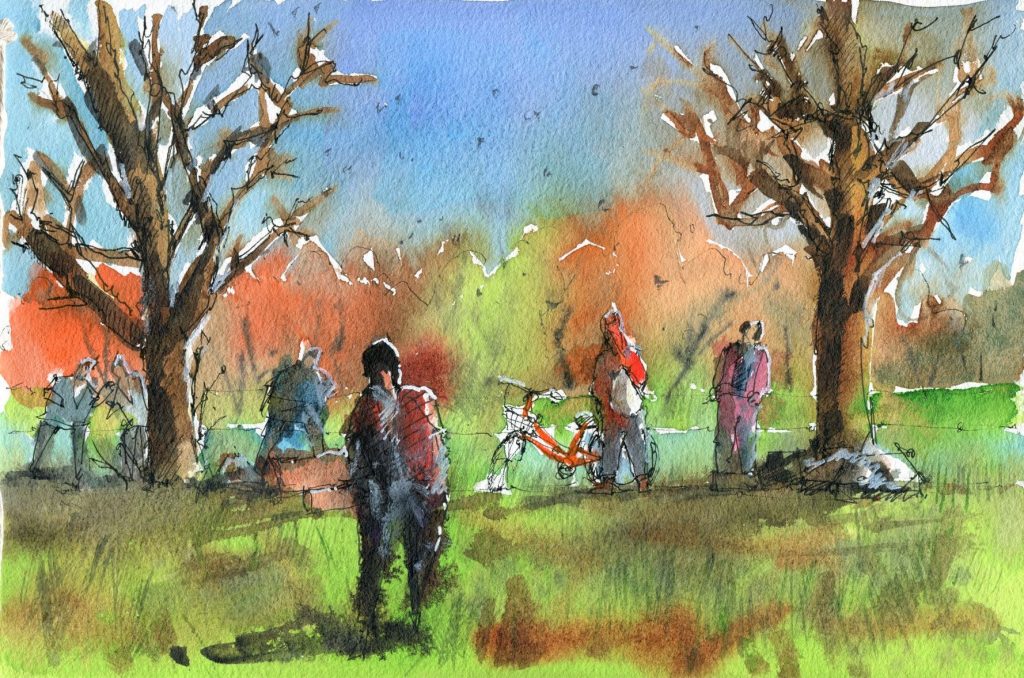
To use this technique, pick up some paint and then immediately after, dry your brush on a paper towel. The remaining moisture on the brush will create broken lines and textures on the paper. In the scene below, I use dry-brush technique to create some of the details in the grassy foreground area.
You can use dry-brush with pure pigment straight from the tube, or diluted pigment. It depends on how dark you want your brush strokes to appear.
Essential Watercolor Techniques: Water and Brush Control
The wetness of the brush determines the sharpness of the mark and the spread of paint. The wetter the brush, generally the more free and unpredictable. Large and wet brush strokes and suited to a background, large areas where small details are not required.
I use a towel and water container to constantly alter the level of water in my brush depending on what I’m painting. If I want sharpness and detail, for the paint to stay put and not spread, I use less water on my brush. Vice versa.
Always use a suitably sized brush for what you’re painting. What’s suitable? A brush that allows you to hold adequate amounts of paint, but also lets you add details and cut around shapes.
Essential Watercolor Techniques: Introduction to Colour Mixing
I always get asked about colour mixing. It’s one of those things that comes up in the context of watercolour techniques and is useful to know.
As a beginner, try to stick with as few colours as possible. I recommend using just your primary colours (red, blue, yellow). This makes the process of mixing colours a lot easier due to fewer variables. Remember, you can mix almost every colour with your three primaries.
Certain colours are naturally darker or lighter. For example, even if you used yellow straight from the tube, it would be very light compared to say, blue or purple. With watercolour, in order to lighten a colour further, you simply add water. To darken a colour, use less water! Always aim to have a mixture of light and dark colours
Always make sure to mix the appropriate quantity of paint according to what you are painting. For example, if you’re painting a large sky area, you need to make sure you’ve mixed enough paint. Otherwise, you’ll have to remix extra and may end up with a different shade of blue.
Notice in the video below that I contrast light and dark colours, as well as warm and cool colours. This creates a vibrant and contrasting effect that I personally like.
Essential Watercolor Techniques: Improving Your Techniques and Brushstrokes
Okay, so it’s good to know all these techniques. But you might be thinking ‘I’m still no good at using any of these’ or ‘I’m unsure where/when to use them’.
I want you to think about the time you first learned how to flip a pancake (I still can’t).
How about when you were learning a particular sport?
Practising a swing in tennis takes years to get right. But it’s definitely possible to get a decent swing that gets the ball over the net in a few weeks.
Here’s my number one secret: use a sketchbook!
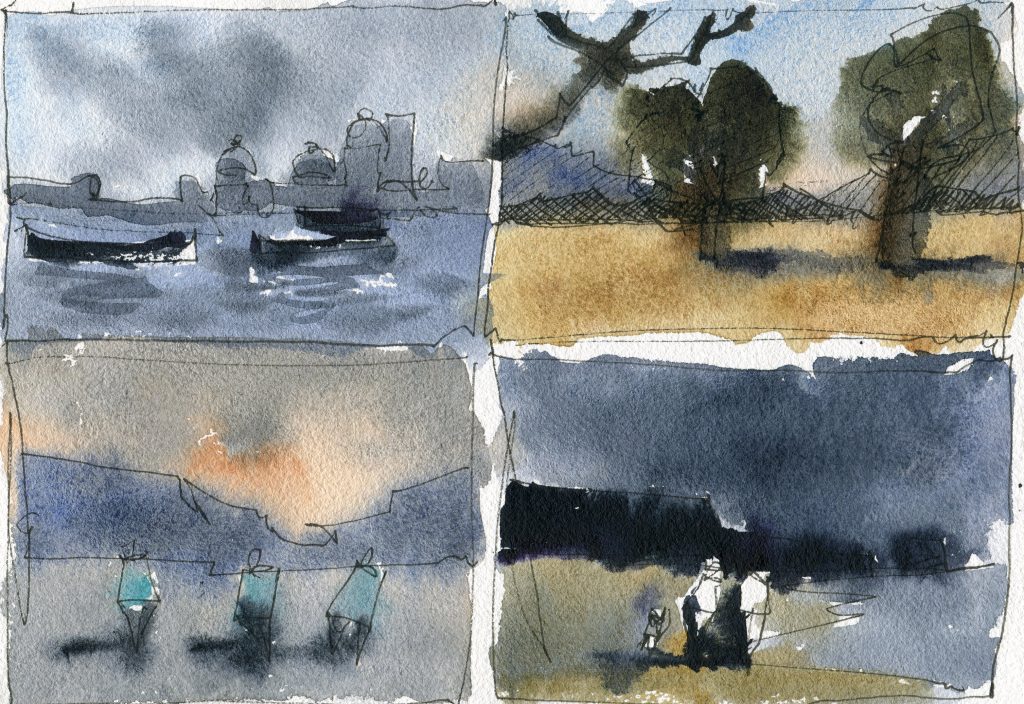
It doesn’t even have to be a book. Just pick up some scrap paper, and try this technique in the context of a few different landscapes or scenes. The key here is practice and consistency. You can read and watch all the tutorials in the world, but to get any better with them, you need to put your brush to paper.
To really understand how to use watercolour techniques, always be conscious of what you’re doing at all times. Think of the technique you’re using, how you’re holding your brush, and why you’re using this specific technique at this specific time. Have a plan, and ask yourself if this technique is the appropriate one to use. This is how you actively learn rather than just make marks on the paper.
Sketching allows you a safe environment to practice and trial different techniques, without the pressure of having to complete a finished or put together painting.
It’s like using a hammer. You wouldn’t want to start creating a new project without being confident you can hit a nail! It’s the same thing with painting. We often wait until we have a ‘serious’ painting. Then we act surprised when we don’t know how to use our brushes or techniques.
I have multiple pages in my sketchbooks of rubbish. Scribbles and marks galore. I encourage you to do the same! It’s the only way to understand the properties of your paper, brushes and paints, and how they interact with each other.
Essential Watercolor Techniques: Conclusion
By now, you should have a good idea of the essential watercolor techniques required for any painting and how to use each of them accordingly.
The best way to get better is by doing.
That’s why I want to recommend to you some free watercolour workshops that I have made available through the playlist below. Happy painting!



4 thoughts on “Essential Watercolor Techniques: A Guide For Beginners”
Thank you Darren wonderful in-depth help for beginners like me.
Glad you found this helpful Bev 🙂
Thank you very much.
you’re welcome Sruti. -Darren