

Easy Perspective Tips: What is perspective?
Here are some easy perspective tips that will help you get started in drawing and painting.
According to Google, perspective is “the art of representing three-dimensional objects on a two-dimensional surface so as to give the right impression of their height, width, depth, and position in relation to each other.”
Perspective is a topic that few beginners touch on when learning how to paint. When I started out, I didn’t bother trying to learn it until I noticed something was off with my paintings. When you are able to understand and apply the principles of perspective, your paintings look more convincing and have a sense of depth.
For these tips, I will be referencing mostly one-point perspective examples.
Easy Perspective Tips: The Horizon Line
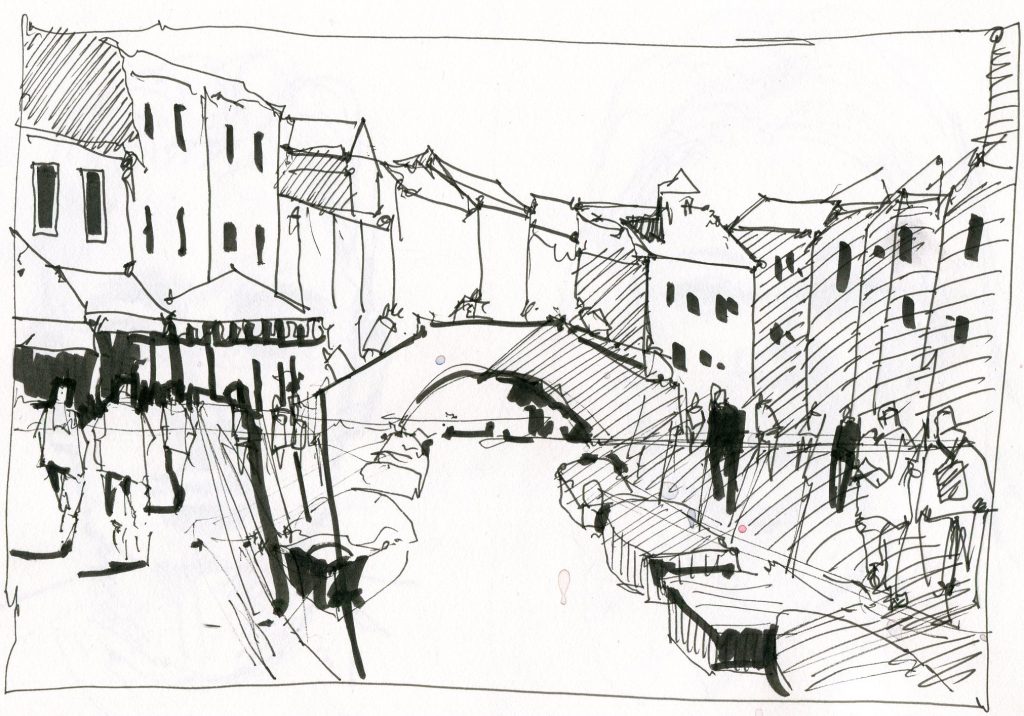
The horizon line refers to the physical boundary where the sky meets the earth or water. It represents the actual height of the viewer’s eyes when looking at an object or scene. There should only be one horizon line in your painting!
Where you place the horizon line has an impact on the vantage point of the viewer. If you refer to Figure 1. above, you’ll see that I’ve placed the horizon line in three places to change the vantage point. If you place a higher horizon line, it creates a ‘birds-eye’ view or top-down perspective of a scene. If you place a lower horizon line, you create a looming sensation, where you are looking up at a scene, e.g. a tall building. If you place the horizon line somewhere in the middle, it will create a familiar eye level scene that most of us are familiar with when walking around.
You will notice that objects above the horizon line appear to slope down towards the horizon line. Objects below the horizon line will appear to slope up. This is most apparent when looking at buildings.
Exercise: Try drawing the same scene but alter the horizon line to see what works best. Always think to yourself, what kind of feeling would I like to elicit from the viewer? What would I like to emphasize in the scene? Using a higher or lower horizon line may draw attention to specific parts of your composition.
Easy Perspective Tips: Placing Figures
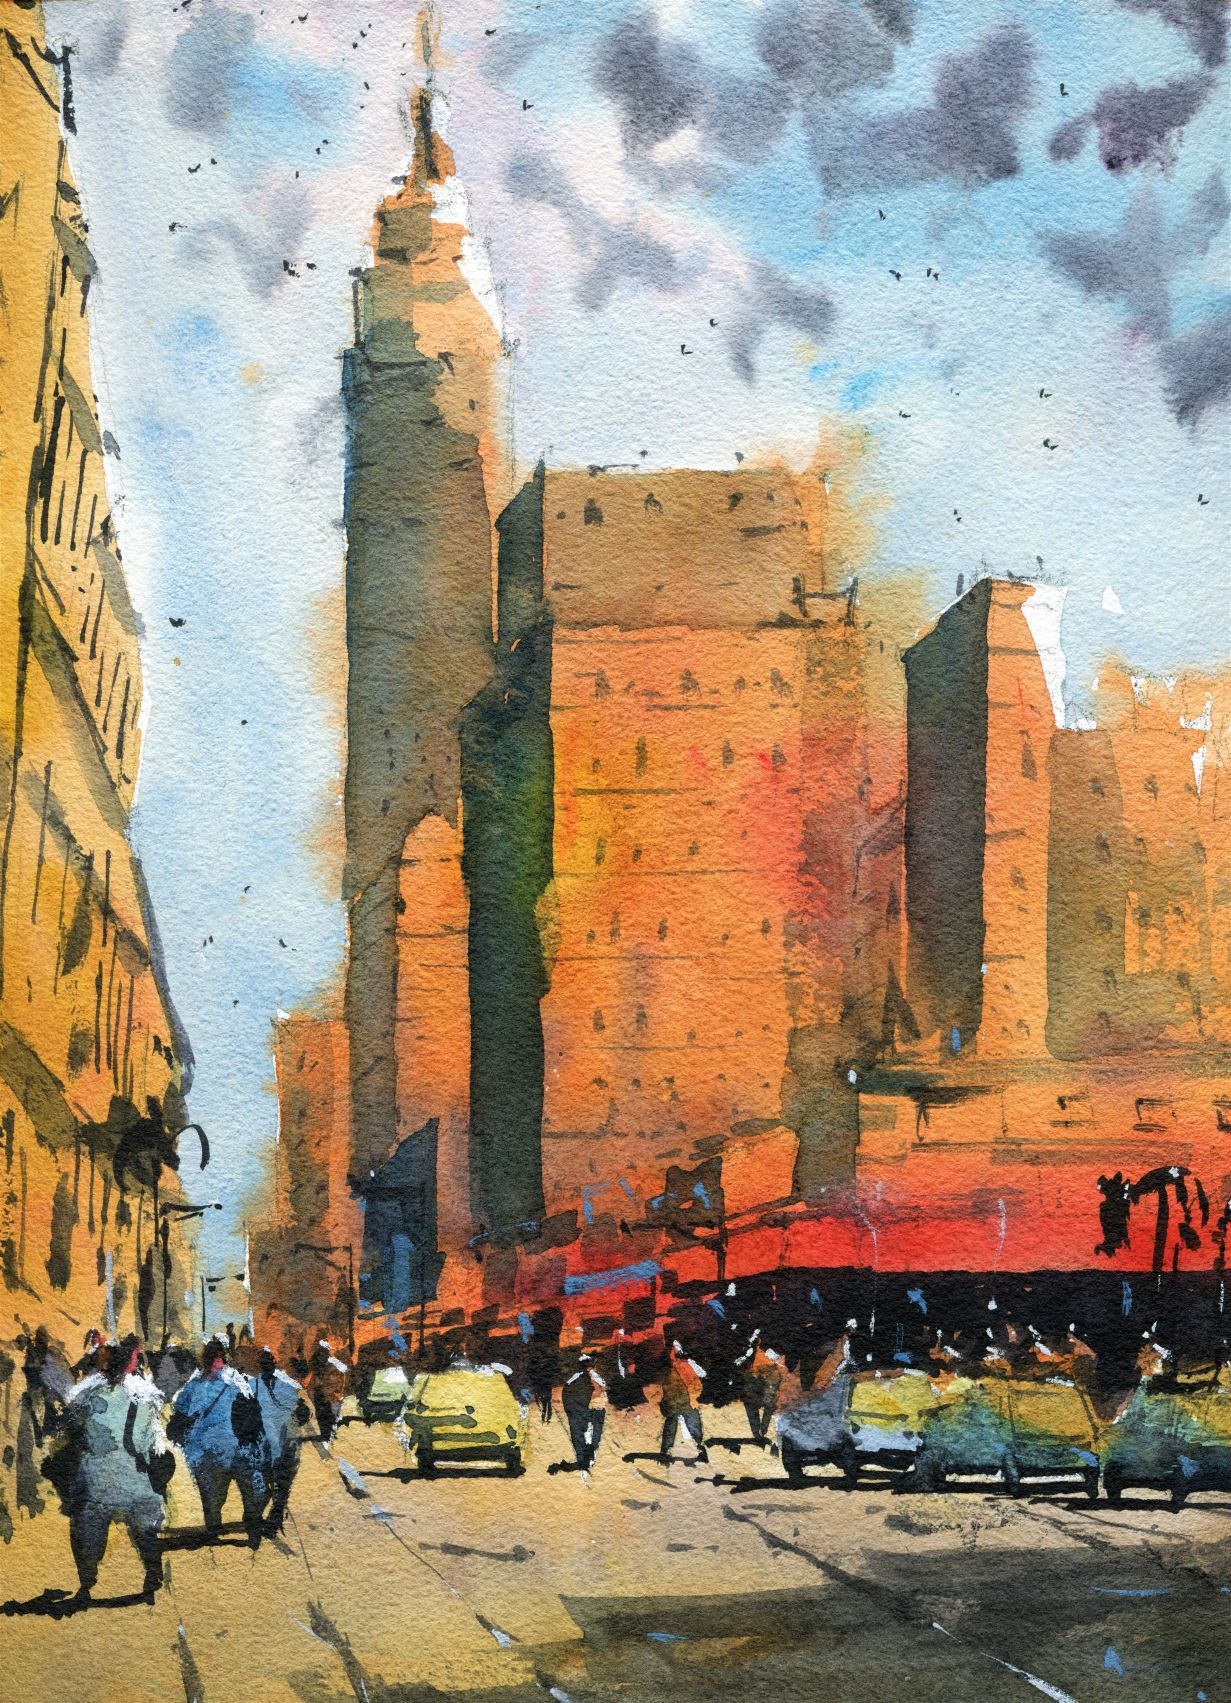
Where you place the heads of the figures, relative to the horizon line again has an impact on the vantage point of the viewer. In most of my paintings, I place the heads roughly on the horizon line. This creates an eye-level scene that is relatable and familiar to us. This creates the impression that we are roughly the same height as the figures we are placing on the horizon line.
To create a flat-looking scene or terrain, place the heads of figures in the same position on the horizon line. To create an inclining terrain, e.g. walking up a hill, gradually place the figures higher up as you move through to the back of a scene. Do the opposite when creating a declining terrain!
Creating different sized figures that overlap adds to the feeling of depth in a scene. I tend to add a few larger figures in the front, some medium-sized ones and smaller ones at the back.
How To Size Objects & Figures
Objects and figures appear smaller as we look into the distance! You need to make sure that you portray this in your painting. Adding a smaller sized figure in the front and a larger figure in the back will create confusion.
Colour & Details
When we look into a scene, objects often appear fainter, less saturated and cooler in the distance. A good example of this is a distant mountain landscape. By making the details too sharp in the mountains, it brings it forward. So to create depth, we need to create softer shapes in the distance, often hinting at the details.
This is good news, as it means that background details can be painted quickly. I often use wet-in-wet techniques here to create softer and less defined shapes.
Observe & Draw!
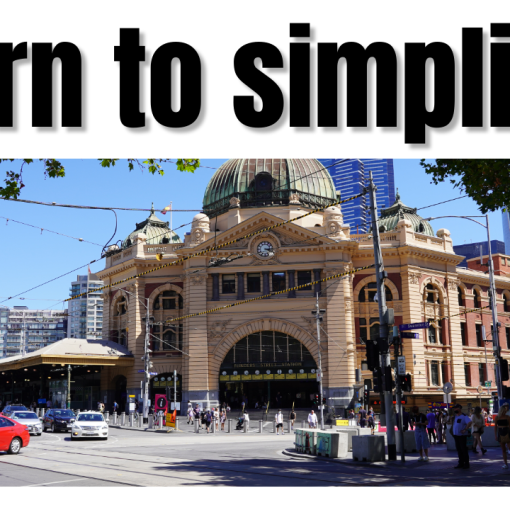
Study reference photos and try to find where the horizon line is. Notice where the figures are, whether the terrain is flat or not. Create small sketches based on these reference photos and see if they make sense.
Bring a small sketchbook wherever you go, and try to sketch different scenes – you’ll find you’ll learn perspective intuitively by observing and comparing your drawing to what you see. This is how I learned perspective.
Easy Perspective Tips: Conclusion
These easy perspective tips will help you to create a more convincing painting with added depth. Remember that small deviations from what I’ve described above won’t make a big difference to your painting. These tips are aimed to give you a general understanding of perspective that you can apply to your paintings right away.
Below is a playlist of free watercolour workshops I have run in the past, that show you how to apply all the principles of perspective that I’ve discussed above.


6 thoughts on “Easy Perspective Tips: Give Your Paintings Depth!”
Good read thanks.
Look forward to trying your advice.
You’re welcome Philip! Happy painting. -Darren
Thank you Darren! This year I vowed to quit tracing and try to draw my painting outlines. Your info is so helpful. Perspective drawing has always brought me those #%&@ moments, LOL!
Hey Shawn, glad you found my tips helpful! Check out the YouTube workshops, there a lot of value in them and I walk you through the drawing each time. If you need extra help feel free to message me. Cheers. -Darren
Great! Thanks Darren.