Easy Watercolor Portraiture Painting: Introduction and Reflection
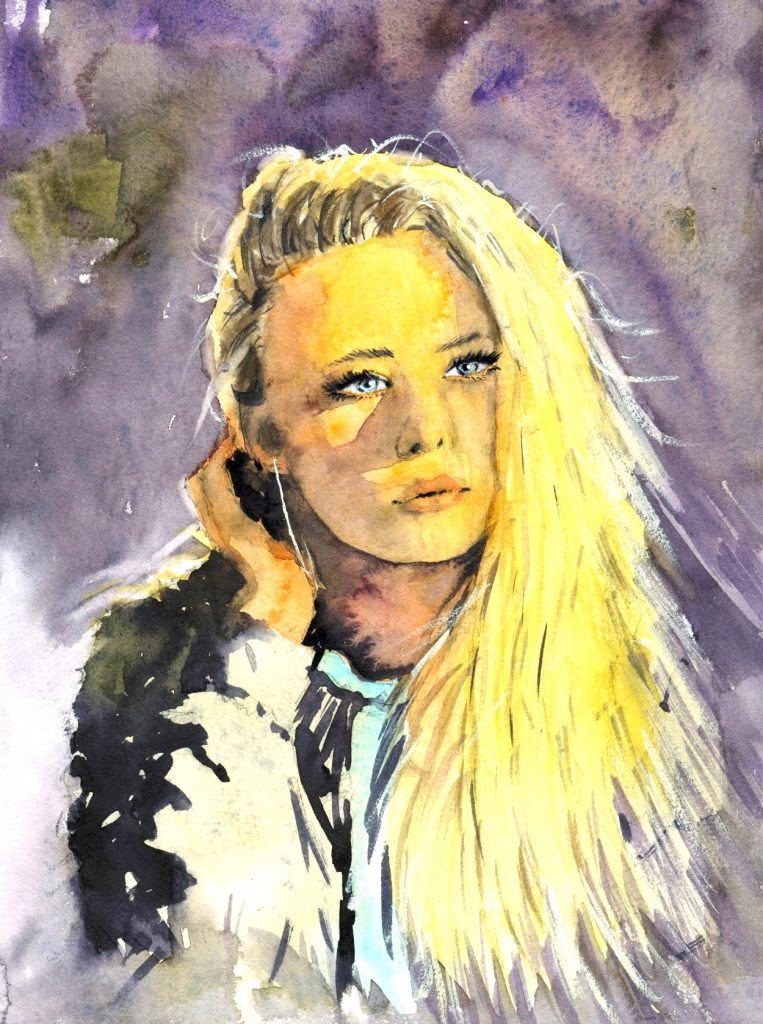
Want to learn some easy watercolor portraiture painting? Today I ran a workshop where I discussed and demonstrated the entire process of painting a front-on watercolor portrait.
I was pleased with the result, although I felt that some slight tweaks for the eyes and lips would have helped further to increase the likeness in relation to the reference photo.
In order to achieve a strong likeness or similarity to the reference photo/subject, it is imperative that you focus on getting in a good drawing.
A good drawing is like a good plan. You know where to go, and you can focus on the task at hand. You don’t want to be trying to figure out if the eyes of the subject are too close together while painting. There are simply too many things already that you will be concentrating on – the colors, mixes, tones, fine details. So do your best to draw an accurate representation prior to beginning your painting. There’s no need to add shadows, more line work and proportions are most important.
I use a technique called the ‘gridding technique’ to create an accurate portrait drawing. I discuss how to do this in my portraiture classes which are available here.
It’s important to have a combination of softer shapes and areas such as the lips, soft shadows on the face, hair, and background. It’s also equally important to have sharper areas to bring out the details of the face. This includes under the chin/jaw, eyelashes and eyes, nostrils. Both in combination create a magical effect, as opposite contrasts in a painting always seem to bring out the best in a subject.
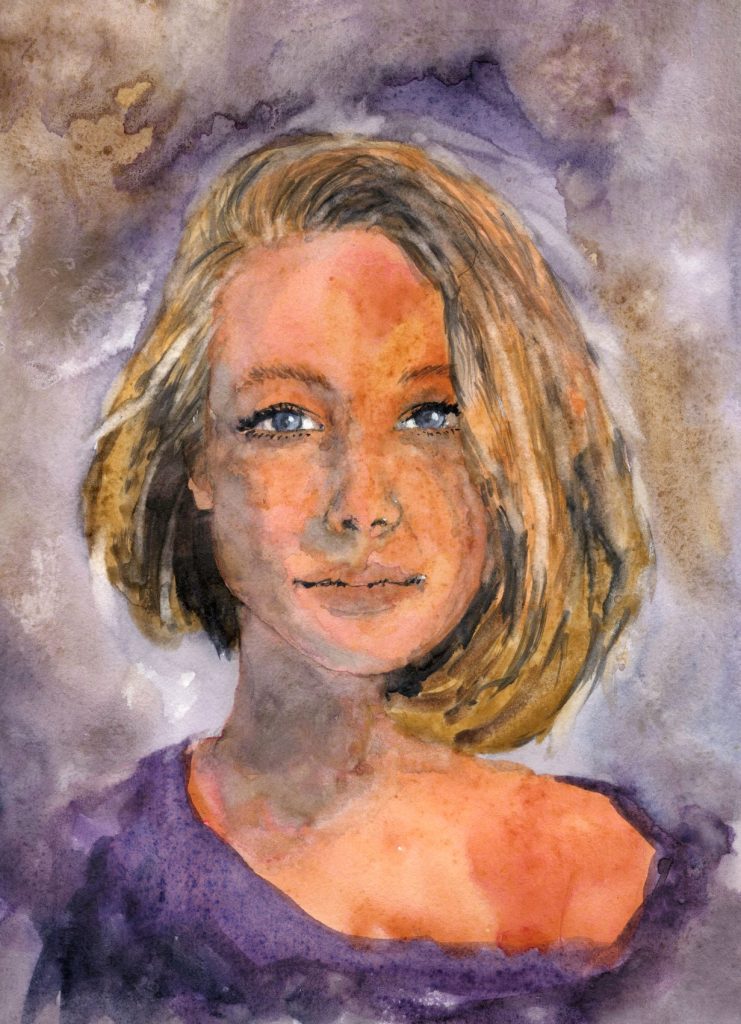
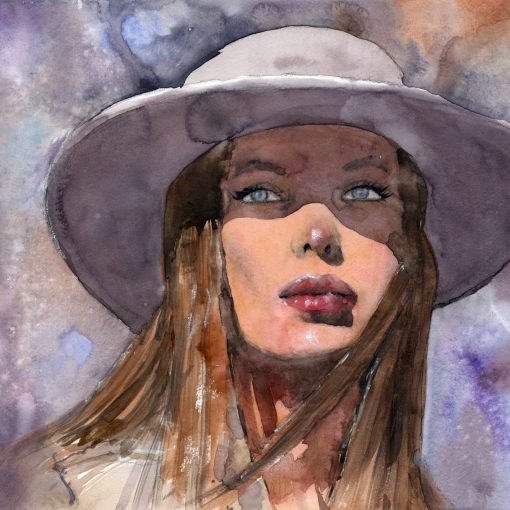
Below is another scan of a portrait I painted from another workshop. You can view it by clicking here or below. I focus more on a stronger light source with sharp shadows. Give it a try!
