
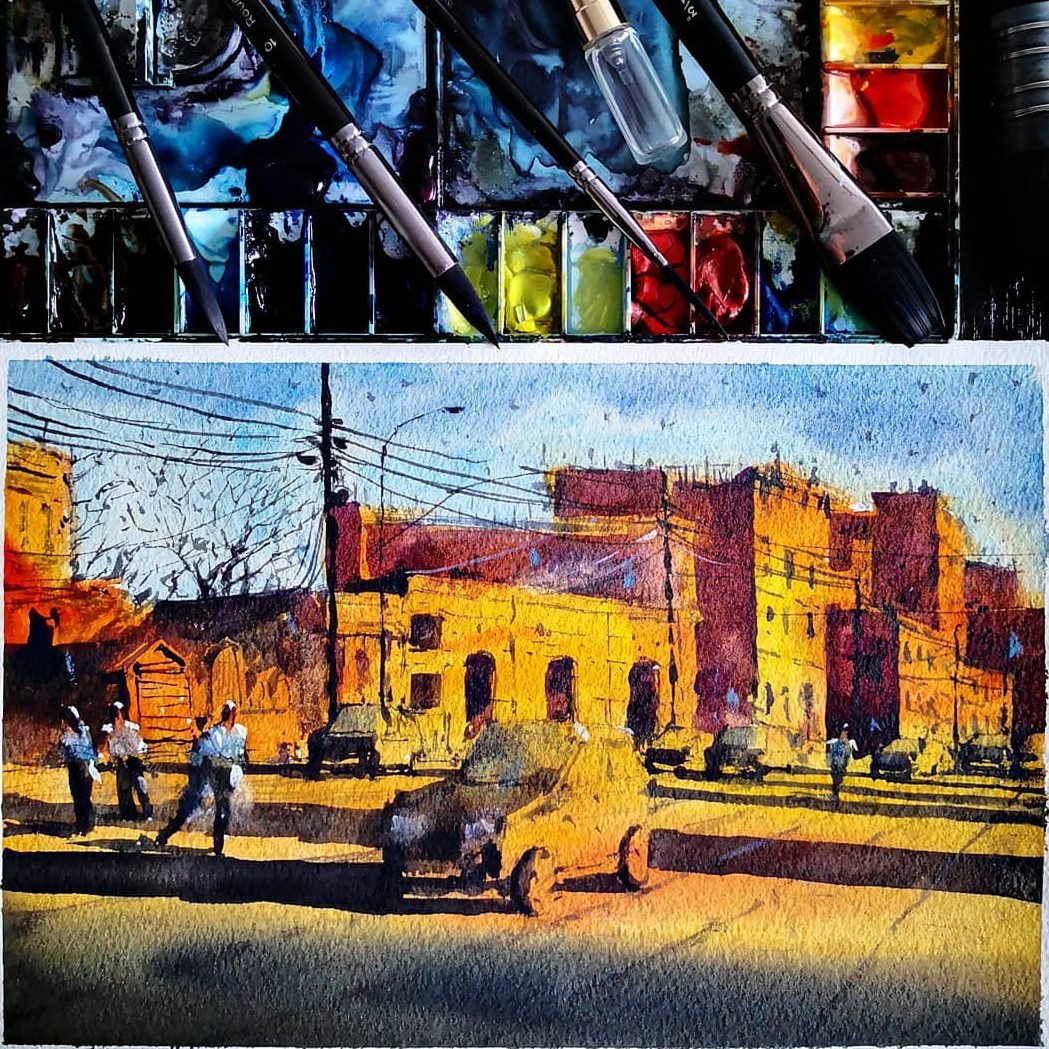
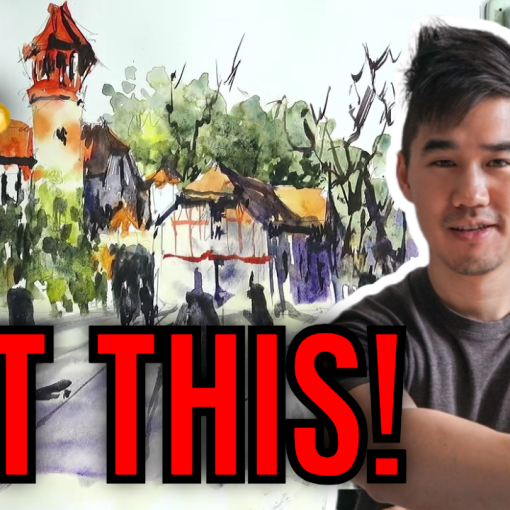
Street Scene – 1/8th sheet (Baohong, 300gsm Cold Press). I’ve added some instructions on how to paint light and shadows in this street scene below.
Step 1:
You can paint this landscape in two basic steps. For the first step, I added in all of the warm colors of the buildings (a blend of orange, yellow, red) with a mop brush and carried this wash down into the foreground. Make sure you lighten the wash in the foreground by diluting the paint mixture. While the buildings were still wet, I added in a bit of red in places to vary the hues. A smaller mop or flat brush will do the trick here. I also added the sky (a thin wash of cerulean blue) at this stage as the buildings were still damp enough to create a smooth transition between the sky and buildings, but not completely blend together. The large shadow down the front was done wet into wet with some neutral tint + blue.
Step 2:
Once dried, I added all the sharper shadows and darks of the buildings and ground with a darker wash of purple + blue + neutral tint. Remember to vary the darkness of your shadows too, as this makes for a more interesting scene. You can contrast your lightest lights and darkest darks next to each other for maximum contrast and to create a focal point. The car and sharp shadows in the foreground are a good example. I added dark areas to the front and left of all the cars to imply a light source from the back right. Small details of the buildings were done with a rigger and no. 4 round brush. I add some cooler hues to the figures to contrast with the warm colors. Finish off with some white gouache for highlights.