
This free Night and Fall Landscapes workshop was a live demonstration I ran recently. I go through how to convey mood though colour and tone. Watch it for free here.
Night and Fall Landscapes
Painting light is challenging.
With both of these scenes, it’s important to paint the lighter and warmer sections first. Let me explain. I find that if you add the warmer areas first, there is less risk of accidentally mixing green. Often when I start off with blue or a cooler hue, some of it ends up on my brush and mixing with the yellows. Having greens in the lighter areas of your buildings is not the best look!
I painted most of these scenes wet-in-wet to create a softer look and transitions. You’ll find especially for the reflections on the ground or around areas of the light, having some softer contrast are easier on the eye.
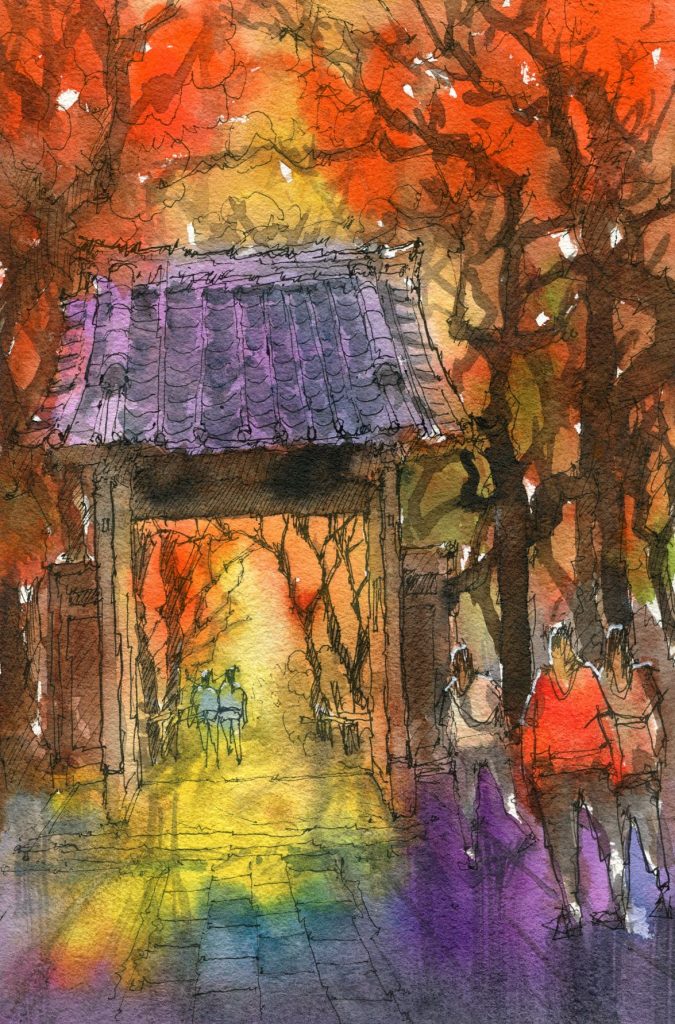
Japanese Garden
I painted this one first for the live workshop.
The light, especially the yellow and orange near the door was added in first. Afterwards, I used a spray bottle to wet the bottom of the page around the yellow and around the areas of light, then dropped in some purple paint to encourage it form a soft edge around the yellow.
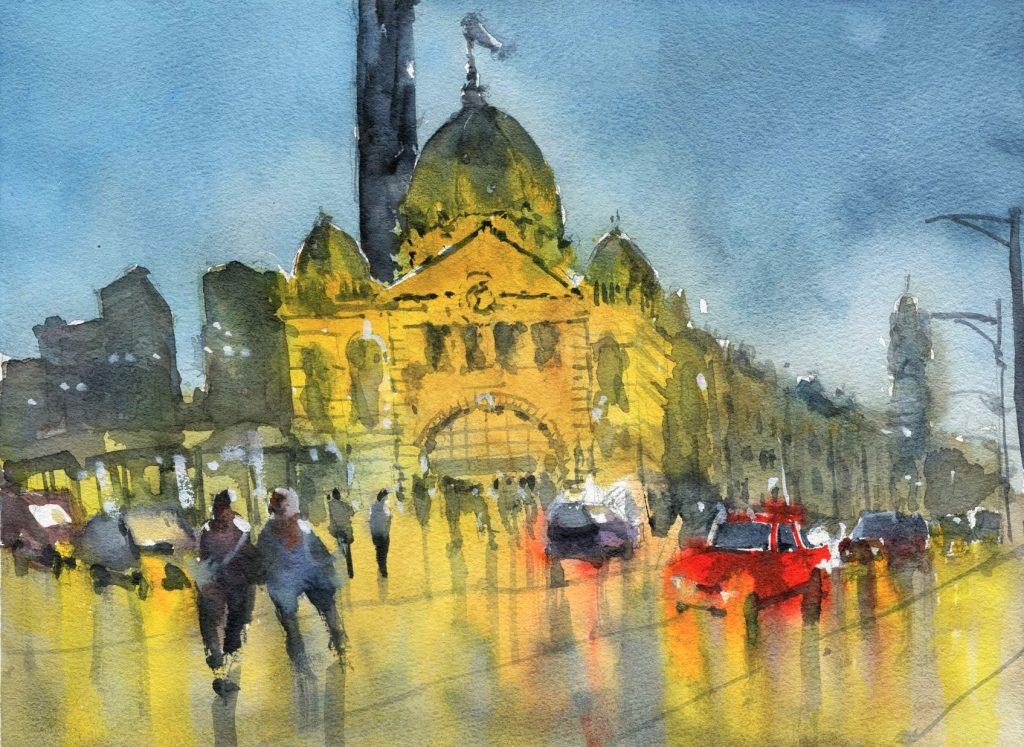
This is the second scene I painted for the live demo. Again I used the same wet-in-wet technique to paint the reflections on the ground.
All the dark areas were added in after once the first layer had dried. This allows me to create some stronger contrasts and sharper shapes in the scene. Even the darks in the red car to the right were added in afterwards to draw out its form more.
I hope you found this free Night and Fall Landscapes workshop and article helpful. Remember that you can watch it for free here.

