Below some top questions and answers from our group Watercolour Beginners.
1. Do I start with the background like acrylics? Or the foreground? I get very muddy colors if I try and go on top of another color, even when it’s dry.
I tend to start with the sky with landscapes and carry this wash down the page and to the ground. You can do this by varying the colors – for example, start with light blue at the top and blend that to a light orange/yellow for the sunset and blue-gray for the ground). If there are buildings, I add a light (usually warm) color over this area too.
Watercolors are commonly painted in layers. Think of your first layer as a thin and light wash of color over the entire sheet. You can also imply some soft shapes while the paper is still wet in the first wash by dropping in some darker paint. Let it dry and then paint a second/third layer over the top to get in all the closer details like trees, people, buildings. That way, for example, you can have a combination of a soft sky and clouds, with some more defined sharper-edged objects in the mid/foreground.
To avoid muddiness, try to let the pigment mix more on the paper rather than trying to mix everything on the palette (can turn to mud if you’re not careful). Also, once you place color on the page with your brush, try to leave it or not modify it too much. Otherwise, it’s easy to have all your colors mix into gray. I find placing complementary colors next to each other also helps to prevent muddiness. With that said some great artists paint with a lot of muddy grays and their work looks beautiful. In my opinion, tone is more important than color. Colour is just another tool to identify shapes/objects and express mood in your painting.
2. How do I know when I need to start with wet paper or dry?
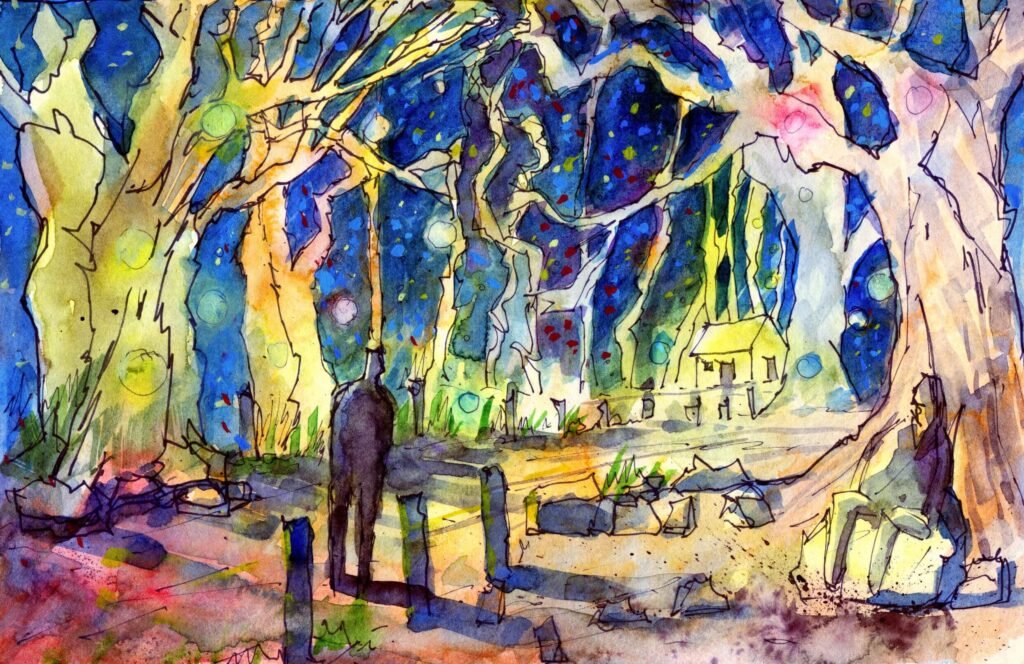
If you start your painting on pre-wet paper (just go over the entire sheet with a large brush and clean water), then the paint that you add will spread and create soft, undefined shapes. This can be desirable when you are painting things like distant mountains, seascapes, skies, and clouds. Anything that doesn’t require sharp detail and often looks better when painted wet-in-wet.
Paint on dry paper when you want to create sharper-looking shapes that don’t move around or spread once the paper has dried. Examples could be; sharp edges of buildings, tree branches, flower petals, eyelashes in a portrait, masts of a boat.
Paintings that have a larger variety of edges, i.e. a combination of sharp and soft edges look more interesting to me, as both complement and draw attention to each other.
It’s also worth noting that there are different ‘wetness’ levels of paper and simply put – the wetter the paper, the more the paint will spread. Try experimenting with letting the paper dry to different levels of wetness and painting into it. That’s the best way to learn. Results also vary depending on the type of paper you are using!
3. The kit came with brushes that you can put water in, are they preferred? Or can I just use the brushes that I used for my acrylic paintings?
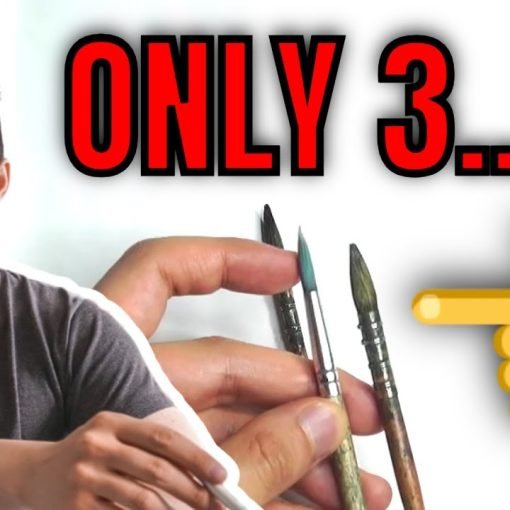
The brushes you mentioned sound like water brushes – they each contain a small reservoir. These are good when you’re traveling and don’t want to carry around an extra container of water. Some of these brushes are getting more advanced now, and they allow you to vary how much water is drawn into the tip, but most don’t allow you to do this. This can represent yet another hurdle for beginners as it’s difficult to impossible to pull off some techniques like dry-brush. You can still try them out and see how they work, I have some myself, but use them more for pen and wash illustrations where I’m essentially coloring in an ink drawing.
I’d recommend getting some watercolor-specific brushes as they are designed to hold water and distribute it evenly across the paper. Some synthetic acrylic-based brushes are OK for watercolors. But those hog bristled ones won’t work – they’re designed to pick up thick paste-like paint, not water.
4. What are the sponges for?
Sponges/cloths can be used to dry off your brush and vary the amount of water you’re using. This is important because you need to use an appropriate amount of water for the subject or feature you are painting. For example, if I’m painting a large sky area, I’ll need to fully saturate my brush, but if I wanted to add some small darker clouds into the sky, I’d dry off my brush a little to have more control over the size of those clouds and avoid creating ‘blooms/cauliflowers’ (these occur when the area you are painting into has LESS water or is drier than your brush).
I also use small cloths/tissues to soak up the pigment in areas when I make a mistake (immediately press onto the paper and lift). I also use this as a technique to lift paint to imply soft shapes like white clouds.
5. Do I have to buy new colors or is there a way to make them? (I might just be struggling with blending here) with acrylics, it’s easy to add white or black or change the tone of a color, but I seem to be struggling to do that with my watercolor pallets.
I bought sets of paint with a ridiculous number of colors in them when I started out and realized I only use about 5 colors in all of my paintings! I’m also assuming you have some good student/artist grade watercolor paint/paper which makes a world of difference.
To lighten a color, all you have to do is add water. The more water you add, the lighter the color. To darken a color, you can use a thicker mix of the paint or buy a bottle of neutral tint/gray and mix it with your color. You can mix your own grays by combining all three primaries.
What complicates things, is that watercolor paint dries LIGHTER than what it looks like when you place it on the paper. So it’s a factor you have to take into account. Try to paint slightly darker so that it dries at the tone you want. Starting with 3-6 primaries (you can get a warm and cool version of each primary) will allow you to mix almost any color. Add some neutral tint and maybe a couple other convenience/favorite colors like sap green, lavender and you have everything you need. You can try to search up some articles on color mixing and color theory, which should show you how to mix specific colors.


