
In this watercolor beach tutorial for beginners, I will show you the best tips and processes to create your own beach landscape watercolor painting. This tutorial will go through all the steps to paint a beach landscape the easy way with only two layers. I’ve also included the video tutorial with narrated steps above.
My comprehensive course on painting Beach Landscapes can be found here: https://watercolourmentor.com/courses/
Materials Required
- Brushes
- Large Watercolour Mop/Flat Brush
- Medium Watercolour Mop Brush or Medium Calligraphy Brush
- Number 4 Round Brush
- Paint
- Cerulean Blue
- Yellow Ochre/Hansa Yellow
- Pyrolle Red
- Paper
- 100% Cotton Watercolour Paper (Medium to Rough texture)
Step 1.

Sketch in the details of the horizon line, figures and umbrella lightly with a pencil.
Wet the top of the half of paper with your large mop or flat brush + some clear water. This will create a light sheen on the paper (we do this so we can add in some clouds wet-in-wet afterwards).
Step 2.
Using a large round/flat brush, drop in bits of color onto the page roughly indicating the clouds and sky. Here, I am using blues and greys for the sky, while leaving some areas of white too. Keep this layer of paint light and work with large brush strokes. The paint should spread evenly.
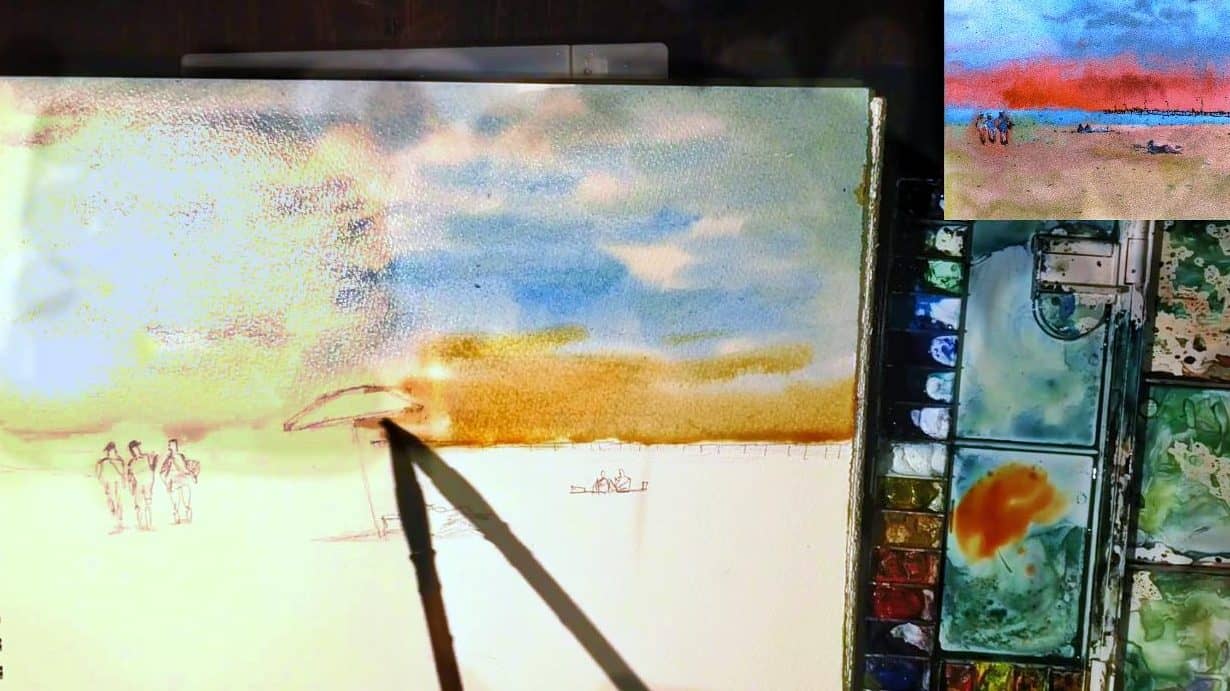
Add some yellow along the horizon line (cutting around our umbrella) and carry it slightly up into the blue for some beautiful mixing to occur. Just under the yellow, add some cobalt blue. This will create a soft transition from blue to yellow, implying a sunset.
Step 3.
Pick up a bit of yellow and drop this in along the horizon line, allowing part of it to mix into the sky (still cutting around our umbrella). Just under the yellow, add some cobalt blue to imply the sea.
Using your large mop/flat brush, mix a generous amount of 3/4 yellow ochre and 1/4 burnt sienna (or a brown). While the blue paint of the sea is still damp, add your sand color just under the cobalt blue – allow the two colors to meet but be careful about allowing them to mix completely.
Continue to cover the rest of the page with our sand color, and work your way down to the bottom. Cut around the figures and umbrella. Add some darker strokes of yellow/gray down the bottom of the page while the paper is still wet.
Step 4.
Dry the sheet completely with a hairdryer before the next step.
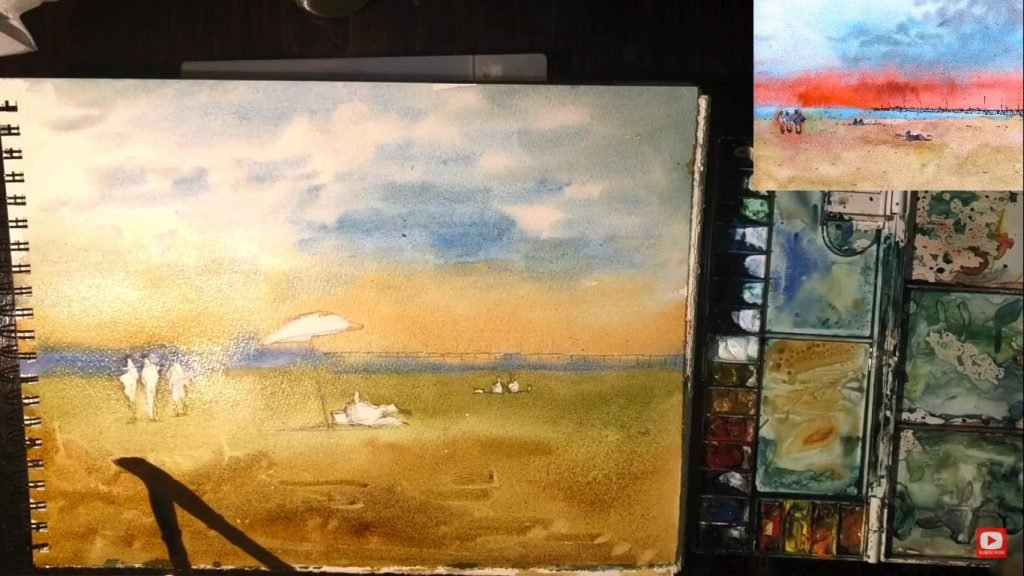
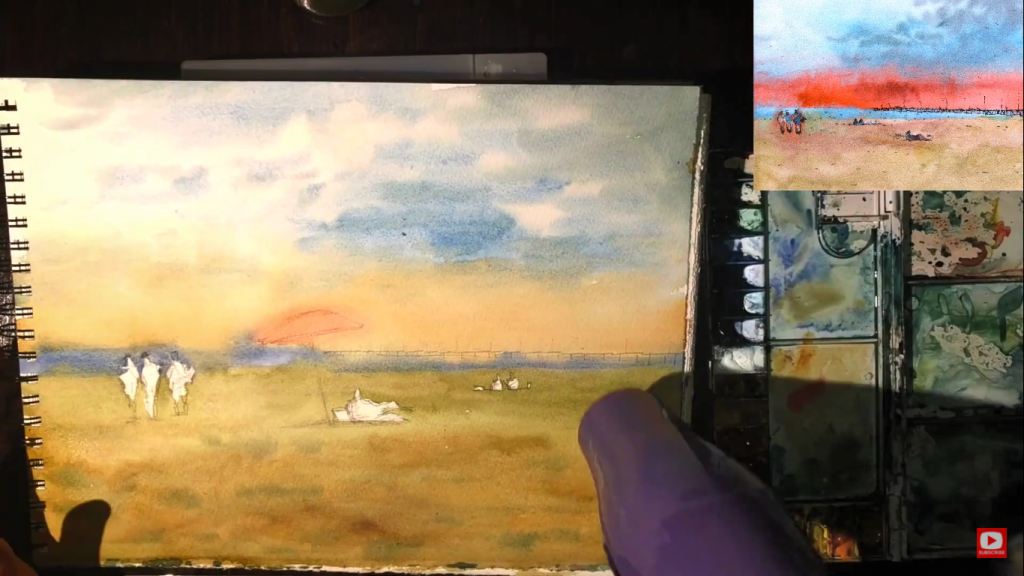
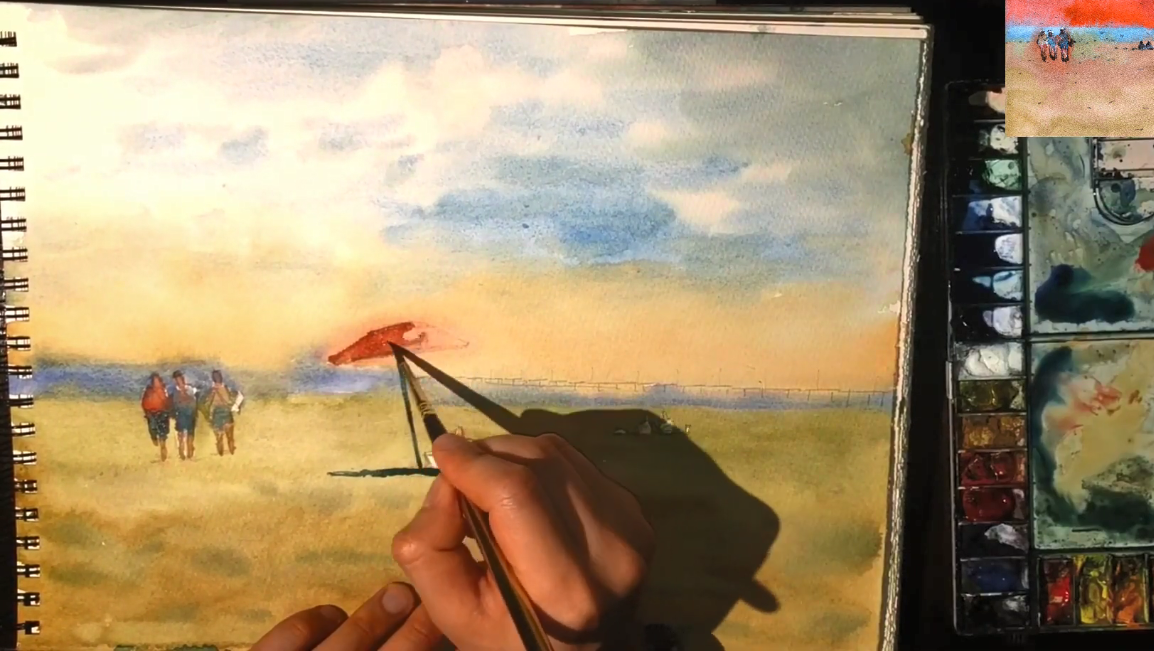
Step 5.
Next we will start to paint in our basic details, like the umbrella and people. For our umbrella, I’m choosing to use a light wash of red, but you can use any colour you want.
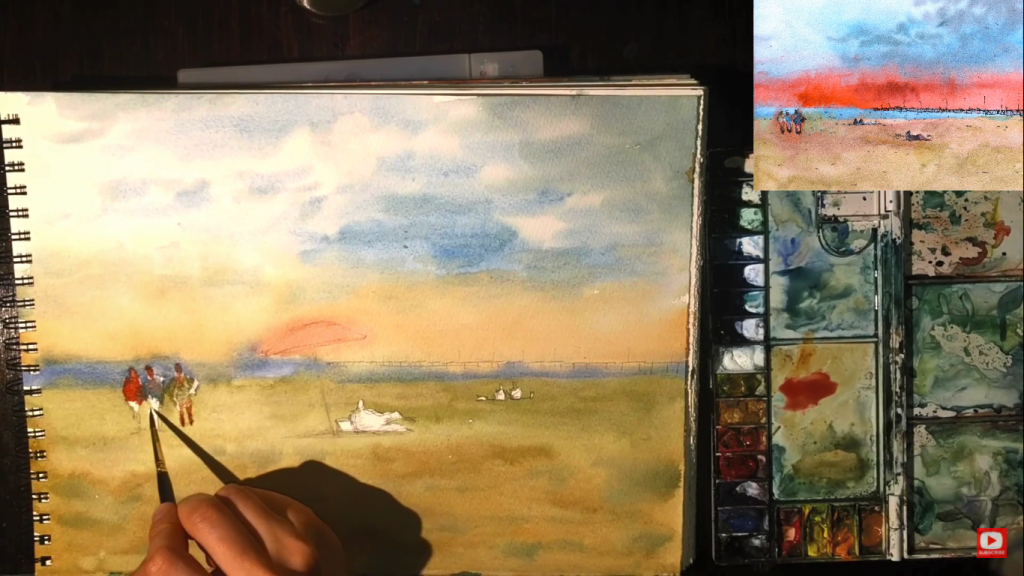
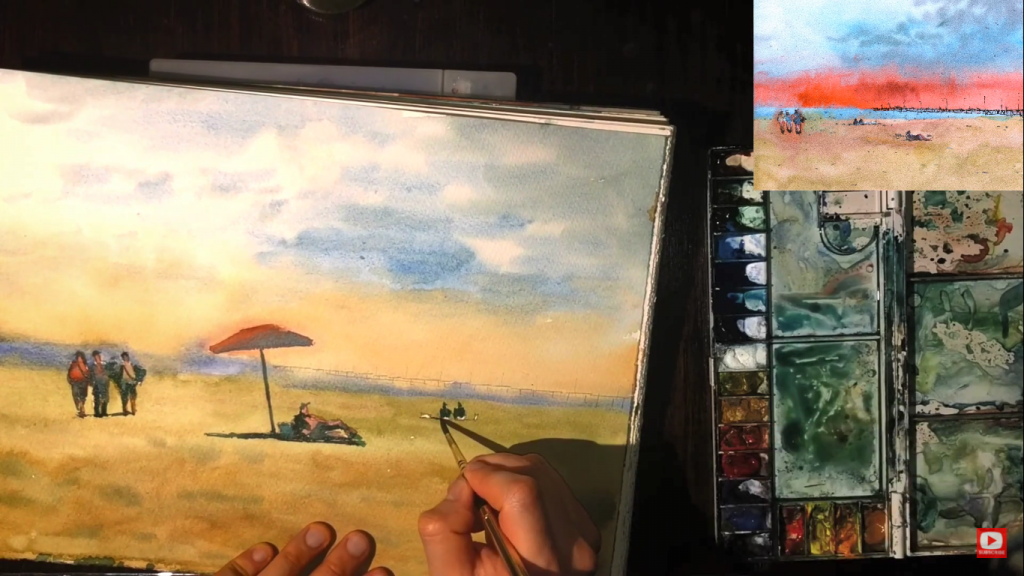
Step 6.
Add the clothes for our people, keeping the colors light and paint in the legs with your chosen skin colors. Here I am using pinks and reds. You can go as far as you want with this – add as much detail as you would like.
Step 7.
Here’s where we add dark shadows to add more realism and depth.
Use a mix of your primary colors to make black/gray. These should be the darkest areas of the painting. Choose a light source – in this case, I am choosing a light source coming from the right of the painting.
Using a small round brush, add shadows under the people, such as the figure laying down, figures to the left and under objects like under the umbrella and the pole.
Step 8.
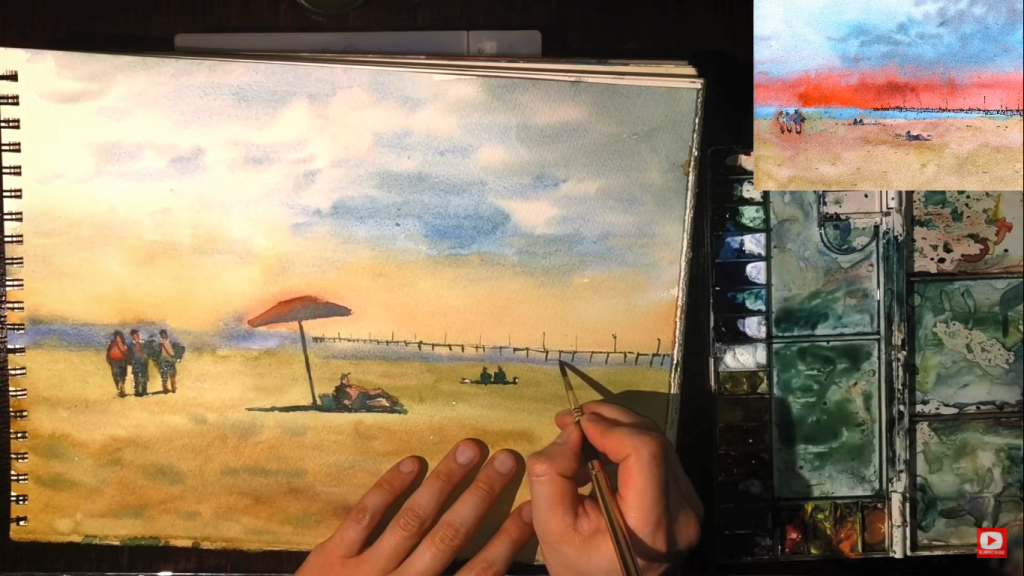
For further away silhouettes like our jetty, use a slightly lighter wash of gray to imply the details.
Step 9.

Add some small dark lines and spots in the foreground to indicate dips in the sand and rocks. Make sure you dry your brush off first before adding in these small details.
Step 10.

Add some birds in the sky by making small ‘v’s with some darker gray paint.
Step 11.
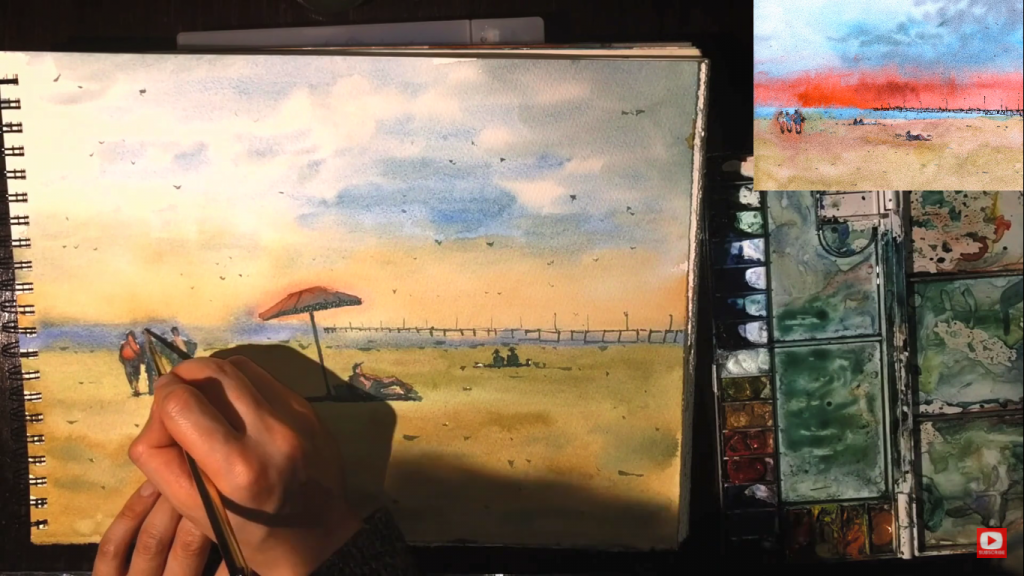
If you have some white gouache, add some white highlights to the heads and shoulders of the figures. Congratulations, you’ve finished your painting – well done!
